
In this tutorial, we will walk you through the process of creating dynamic attributes in Salesforce Revenue Lifecycle Management (RLM). Dynamic attributes allow you to adjust pricing based on selected attribute values, which can be particularly useful for product configurators. We’ll cover the following steps:
- Create a New Dynamic Attribute
- Test the New Attribute
Let’s dive in!
Step 1: Create a New Dynamic Attribute
We will create a new dynamic attribute for a product and set it up to affect pricing based on the selected value. For this tutorial, we’ll use a paint color attribute as an example.
Attributes are the characteristics or properties of products and product classifications. They can be of various data types like text, number, date, datetime, checkbox, picklist, currency, and percent.
Picklists represent all possible values for such attributes, and users choose one of these values when purchasing a product. You must define picklists before creating attributes of the data type picklist.
Example: A mobile phone product can have attributes like size, weight, storage capacity, display size, and camera specifications. A television can have a different set of characteristics like display type, connectivity, sound output, and smart TV.
- Navigate to Product Catalog Homepage:
- Go to the picklist section under attributes.
- Create a New Picklist:
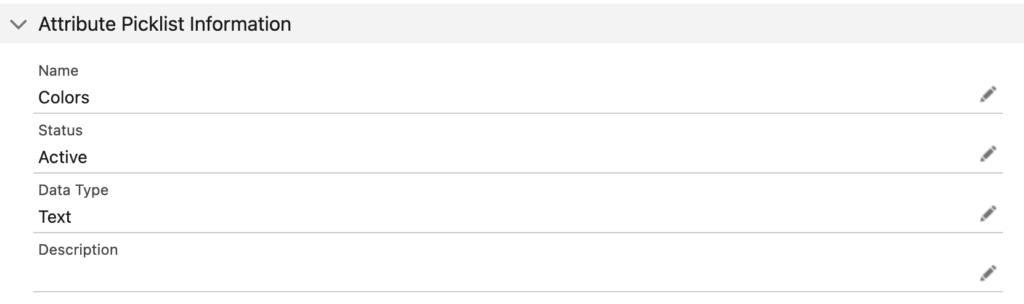
- Name: (e.g., “Product Paint”)
- Status: Active
- Data Type: Text
- Description: (Add as required)
- Add Picklist Values:
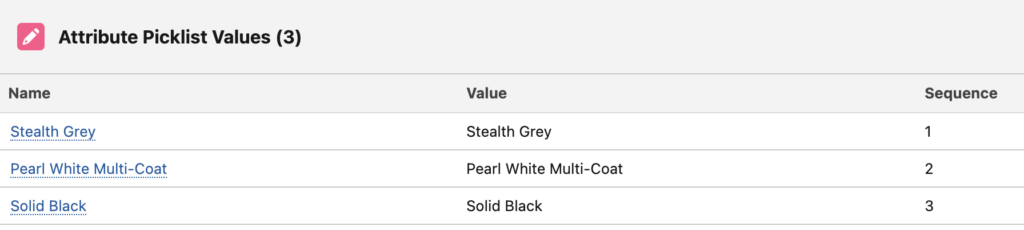
- Value 1:
- Name: (e.g., “Black”)
- Code: (e.g., “Product Black”)
- Status: Active
- Display Value: Black
- Value: Black
- Sequence: 1
- Value 2:
- Name: (e.g., “Red”)
- Code: (e.g., “Product Red”)
- Status: Active
- Display Value: Red
- Value: Red
- Sequence: 2
- Create a New Attribute:
- Name: (e.g., “Product Paint”)
- Label API Name: (e.g., “Product Paint”)
- Data Type: Picklist
- Picklist: Select the picklist created above
- Set to Required: Yes
- Status: Active
- Default Value: (e.g., “Black”)
- Create Product Classification:

- Name: (e.g., “Product Classification”)
- Code: (Add as required)
- Status: Active
- Assign Attributes to Product Classification:
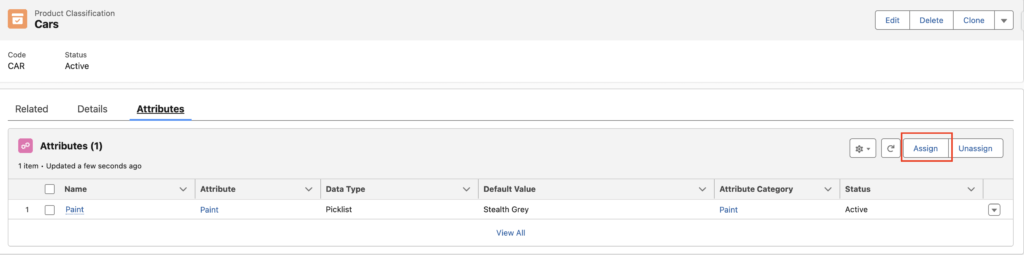
- On your new Product Classification, go to the attributes tab.
- Click on ‘Assign’
- Attribute: Select the attribute created above (e.g., “Product Paint”)
- Assign Product Classification to Product:
- Product: Select the product you created
- Based On: Select the product classification you created above
- Set Attribute to Price Impacting:
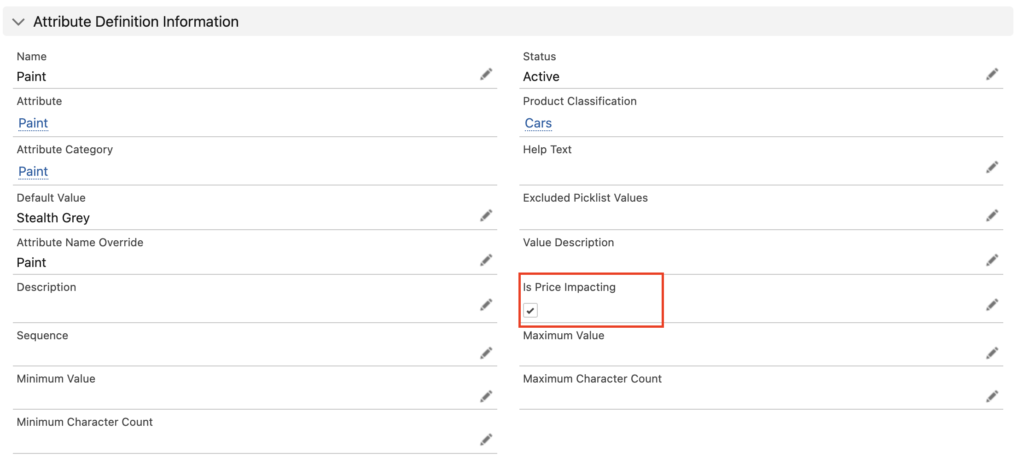
- Navigate to Product Classification
- Edit Attribute: Set “Is Price Impacting” to True
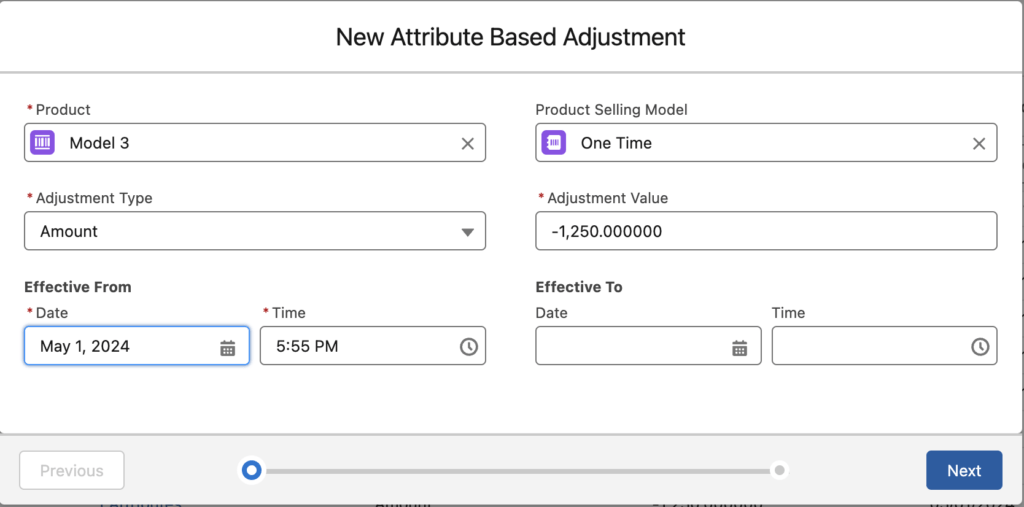
- Create Attribute-Based Adjustment:
- Navigate to Price Management App
- Go to Price Adjustment Schedules
- Create New Adjustment:
- Product: Select the product you created
- Adjustment Type: One-time
- Adjustment Value: (e.g., “-$250” for Red color)
- Effective Date: (e.g., May 1st)
- Set Condition: Paint color equals Red
Step 2: Test the New Attribute
Finally, we’ll test the new attribute to ensure it affects pricing as expected.
- Sync Pricing Data:
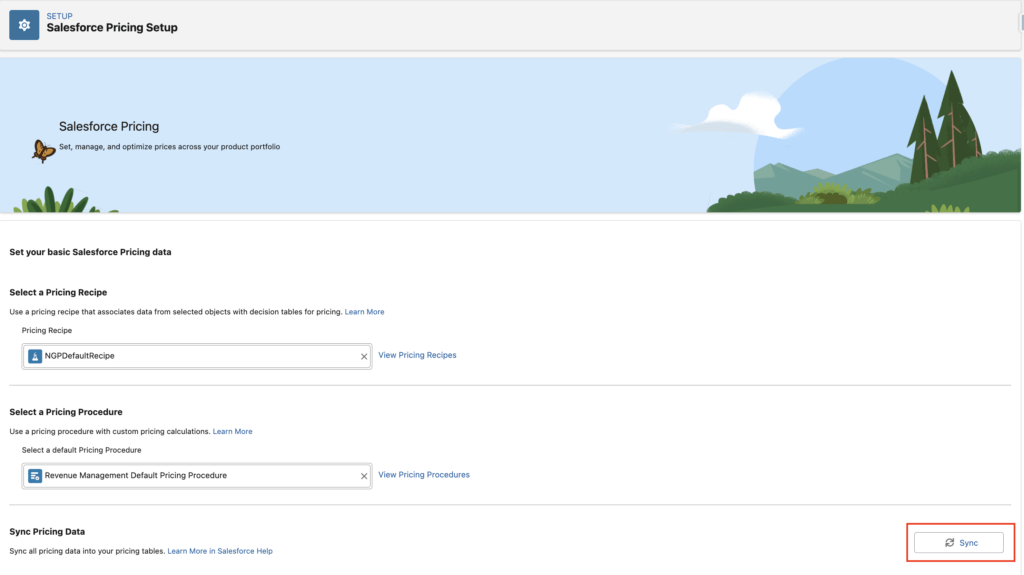
- Navigate to Setup
- Scroll down to Pricing Setup
- Sync Pricing Data
- Test on a Quote:
- Refresh the quote page
- Browse Catalogs and select the product you created
- Configure with Instant Pricing
- Change Color to Red and observe the price update
- Save and Exit
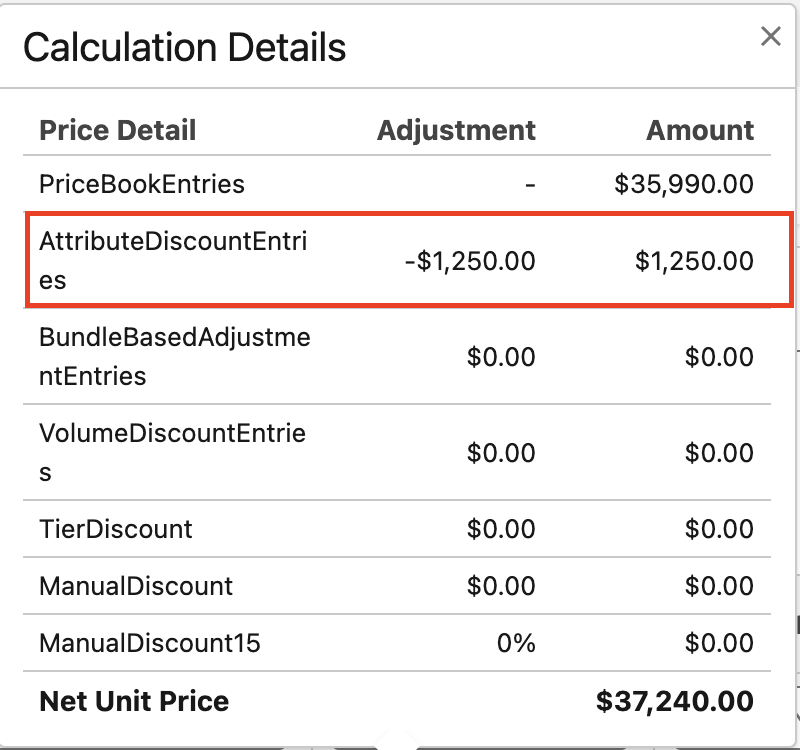
- Verify Price Adjustment:
- Check the quote to ensure the negative adjustment is applied
Conclusion
By following these steps, you can create dynamic attributes in Salesforce RLM that adjust pricing based on selected values. This functionality is particularly useful for product configurators, allowing for more flexible and accurate pricing models.
If you have any questions or topics you’d like us to cover, please leave a comment or contact us directly. Don’t forget to subscribe for more tutorials!
Thank you for reading!
Related Resources
Related: How to Create a Configurable Subscription Product in Revenue Cloud